Have Questions?
Call 1(855) 236-5000
 >
>
The purpose of this article is to teach you how to properly seat a CVA breech plug. This can be either a brand new replacement breech plug or in some cases the plug that comes from the factory with a new CVA muzzleloader. We have noticed that many new CVA muzzleloaders do not have the breech plug fully seated upon arrival.
How do you know if the breech plug is not fully seated? There are three built in safety systems on CVA muzzleloaders that will ensure the gun can not operate if the breech plug is not properly seated. These are listed below:
1. The hammer will not stay locked in the fire ready position (fully cocked).
2. The trigger will not function and engage the hammer.
3. The breech will not lock when closed, preventing the gun from staying shut.
If you are experiencing any one or a combination of these issues with your CVA muzzleloader there is a very high probability the breech plug is not properly seated.
Below we have listed out step by step instructions for how to properly seat a CVA breech plug.
How to properly install a CVA breech plug:
Step 1: Remove any debris and powder residue from the breech area.
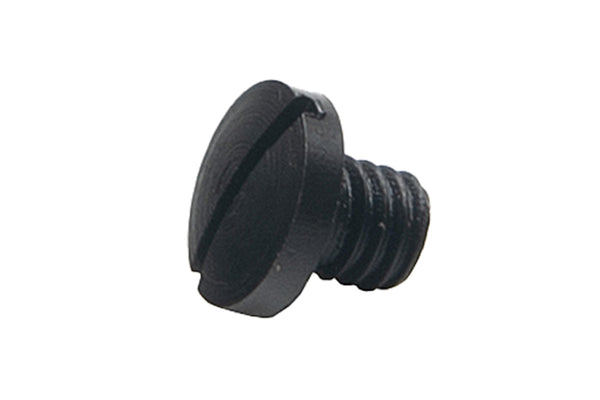
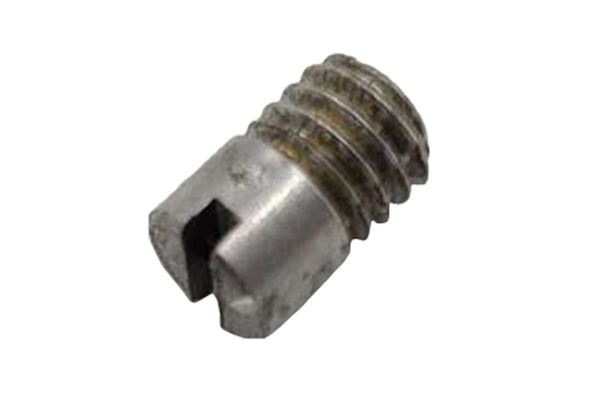
Step 2: Finger-tighten the CVA Breech Plug until the breech plug is flush with the barrel – CVA Anti-Seize Stick is recommended for use on the threads during this step and will aid in future use of the breech plug.

Step 3: Tighten the breech plug with the CVA Breech Plug Installation Tool (SKU/Part # 3447 if you need one) approximately one half of a turn, or until fully snug against the breech – there should be no gap between the breech plug and the breech.

Step 4: Test the functions of the muzzleloader: i.e. the trigger, the break action, and the hammer assembly to make sure the breech plug is properly seated.
Step 5: Loosen the breech plug using the CVA Breech Plug Installation Tool and remove the breech plug from the breech. The CVA breech plug should now be able to loosen and tighten with just your fingers from here on out. Go ahead and reinstall the breech plug by hand only and test the trigger, hammer and breech functions again.

Important Reminder: Be careful when applying Anti-Seize on the breech plug as only a small dab is needed to be effective. Applying too much Anti-Seize can, ironically, cause the breech plug to seize up.
If the CVA breech plug is properly seated, then the break-action will close, the trigger assembly will engage, and the hammer assembly will cock correctly. If you cannot do any one of these three actions, the breech plug is not fully seated. This is a built-in fail-safe to ensure proper installation before firing. Simply repeat steps 3 and 4 until the breech plug is fully seated and your muzzleloader is functioning correctly.
If you have any other questions, please reach out to a customer service representative at 1-855-236-5000.